Save the Date Card – DIY Wedding Craft Project
 You will need:
Cream textured card
Red pearl card
Parchment paper
Silver border peel-offs
Red heart confetti
Computer with printing facilities
Paper trimmer
Scissors
Embossing tool and pad
Double sided tape
Sticky foam pads
To make the card:
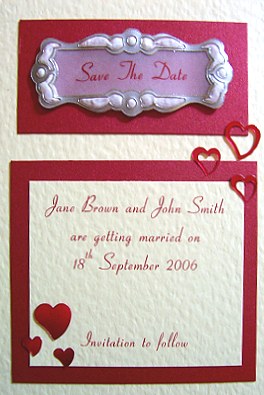
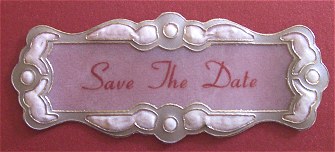
1. Using word processing software, print out Save The Date onto the parchment paper. You can use any font you wish; We have used Cornet.
2. Stick a silver border around the text and emboss the pieces cut out of the border.
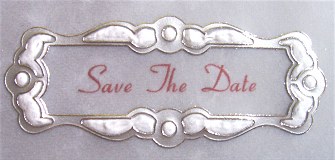
3. Cut around the border and using the sticky foam pads, stick to the centre of a piece of the red pearl card.
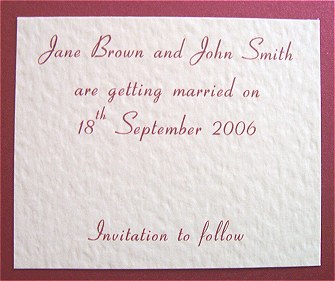
4. Print out the details of the card onto a piece of the cream textured card. I have used the wording:
Brides name and Grooms name are getting married on Date, month, year
Invitation to follow
5. Cut out the text and cut a slightly larger piece of the red pearl card to mount the text onto.
6. Cut another piece of the cream textured card that is large enough for the title and for the main text (see picture).
7. Using double sided tape stick the Save The Date and the main text to the background card. Add a few of the heart confetti pieces around the main text as shown.
N.B. For an extra touch you could put a few more of the red confetti hearts loose in the envelope that you post your card in.